
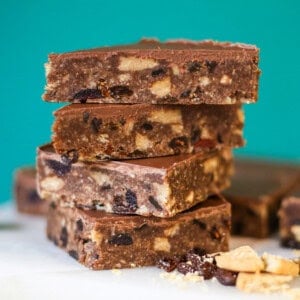
This easy Chocolate Tiffin Recipe is a classic Scottish cake made with crunchy Digestive biscuits and chewy raisins all topped with a thick layer of milk chocolate. My version has glacé cherries too, and I personally feel this is a level up option! There’s no baking involved, the steps are ridiculously easy, and you get the best mix of crunchy, chewy, and chocolatey in every bite. The only real problem is stopping at one slice.
Quick note if you've landed here from a search for the other tiffin: in India, the word is used for a light meal or a lunchbox. This tiffin is a Scottish traybake.
Jump to:
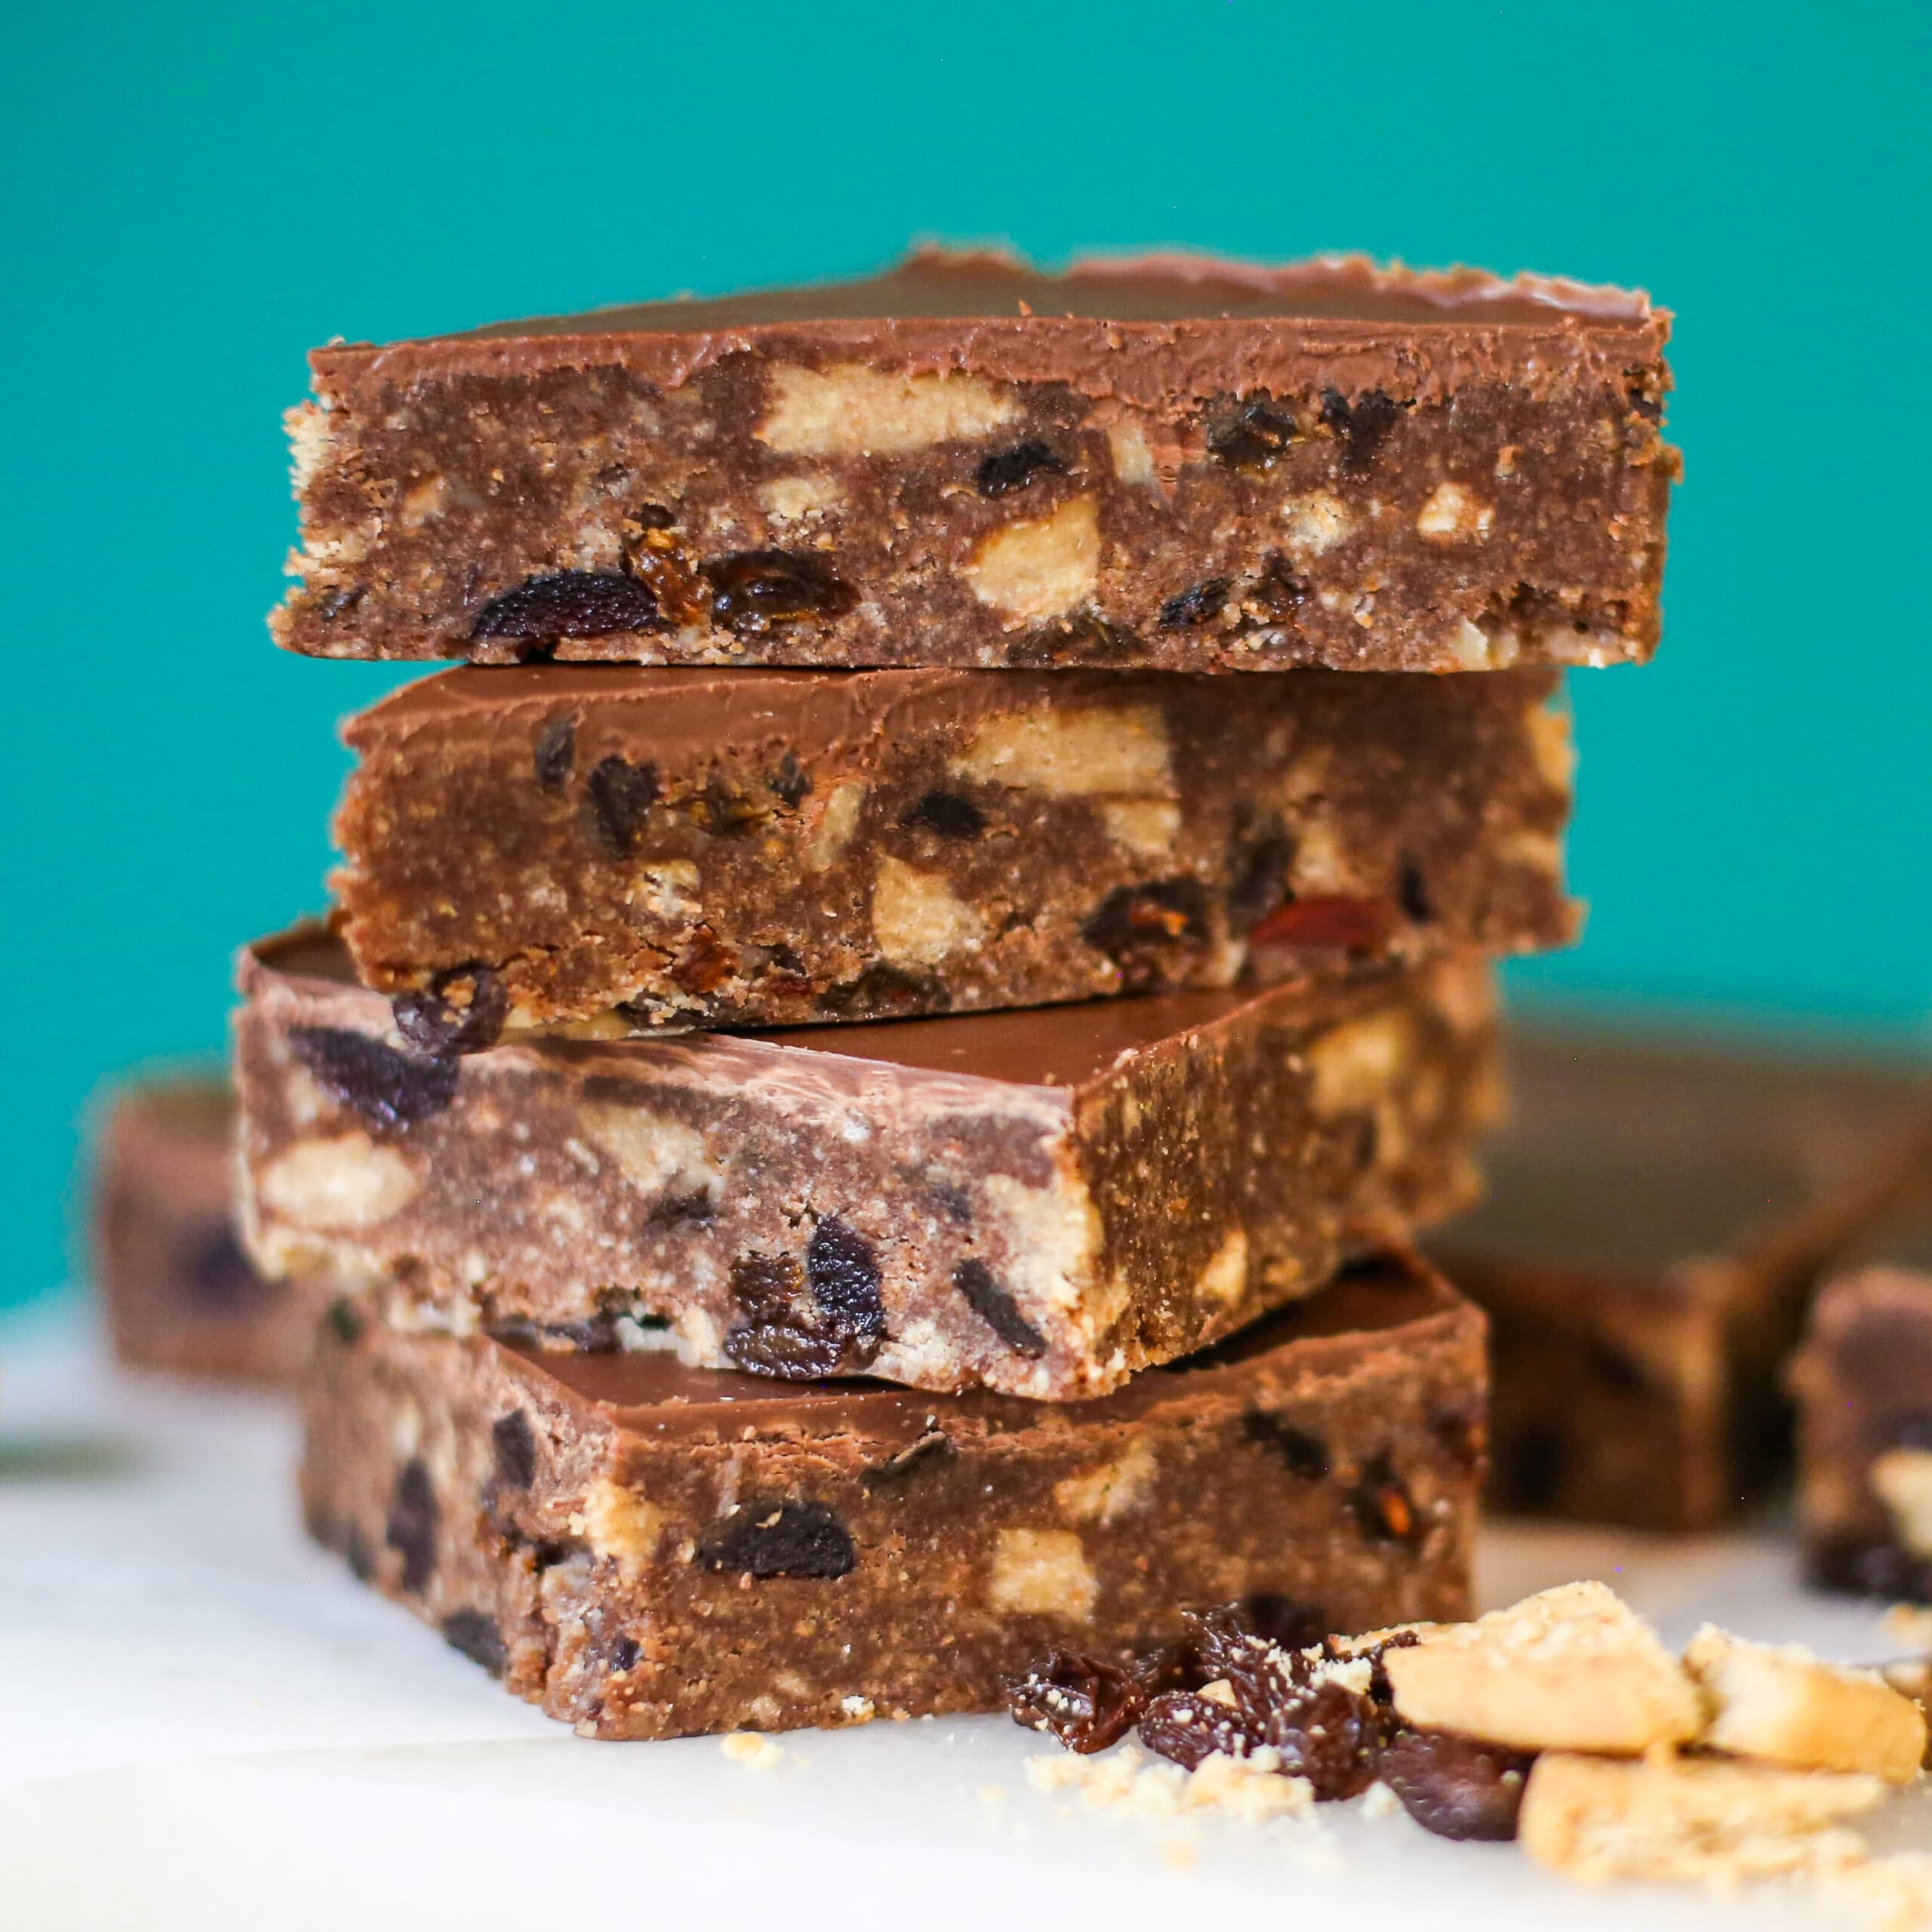
What is Chocolate Tiffin?
Chocolate tiffin, also known as fridge cake, refrigerator cake, biscuit cake or tiffin cake is a traditional Scottish no-bake traybake made with crushed Digestive biscuits, butter, golden syrup and cocoa powder, usually with dried fruit mixed through and a layer of melted chocolate on top. Unlike a traditional traybake, there’s actually no baking involved. Everything is pressed into a tin and left in the fridge to set.
Tiffin is said to have originated in a bakery in Troon, Scotland, in the early 1900s, although the exact history is a little murky. What I can tell you is that it’s been a staple in Scottish bakeries, cafés and homes for generations.
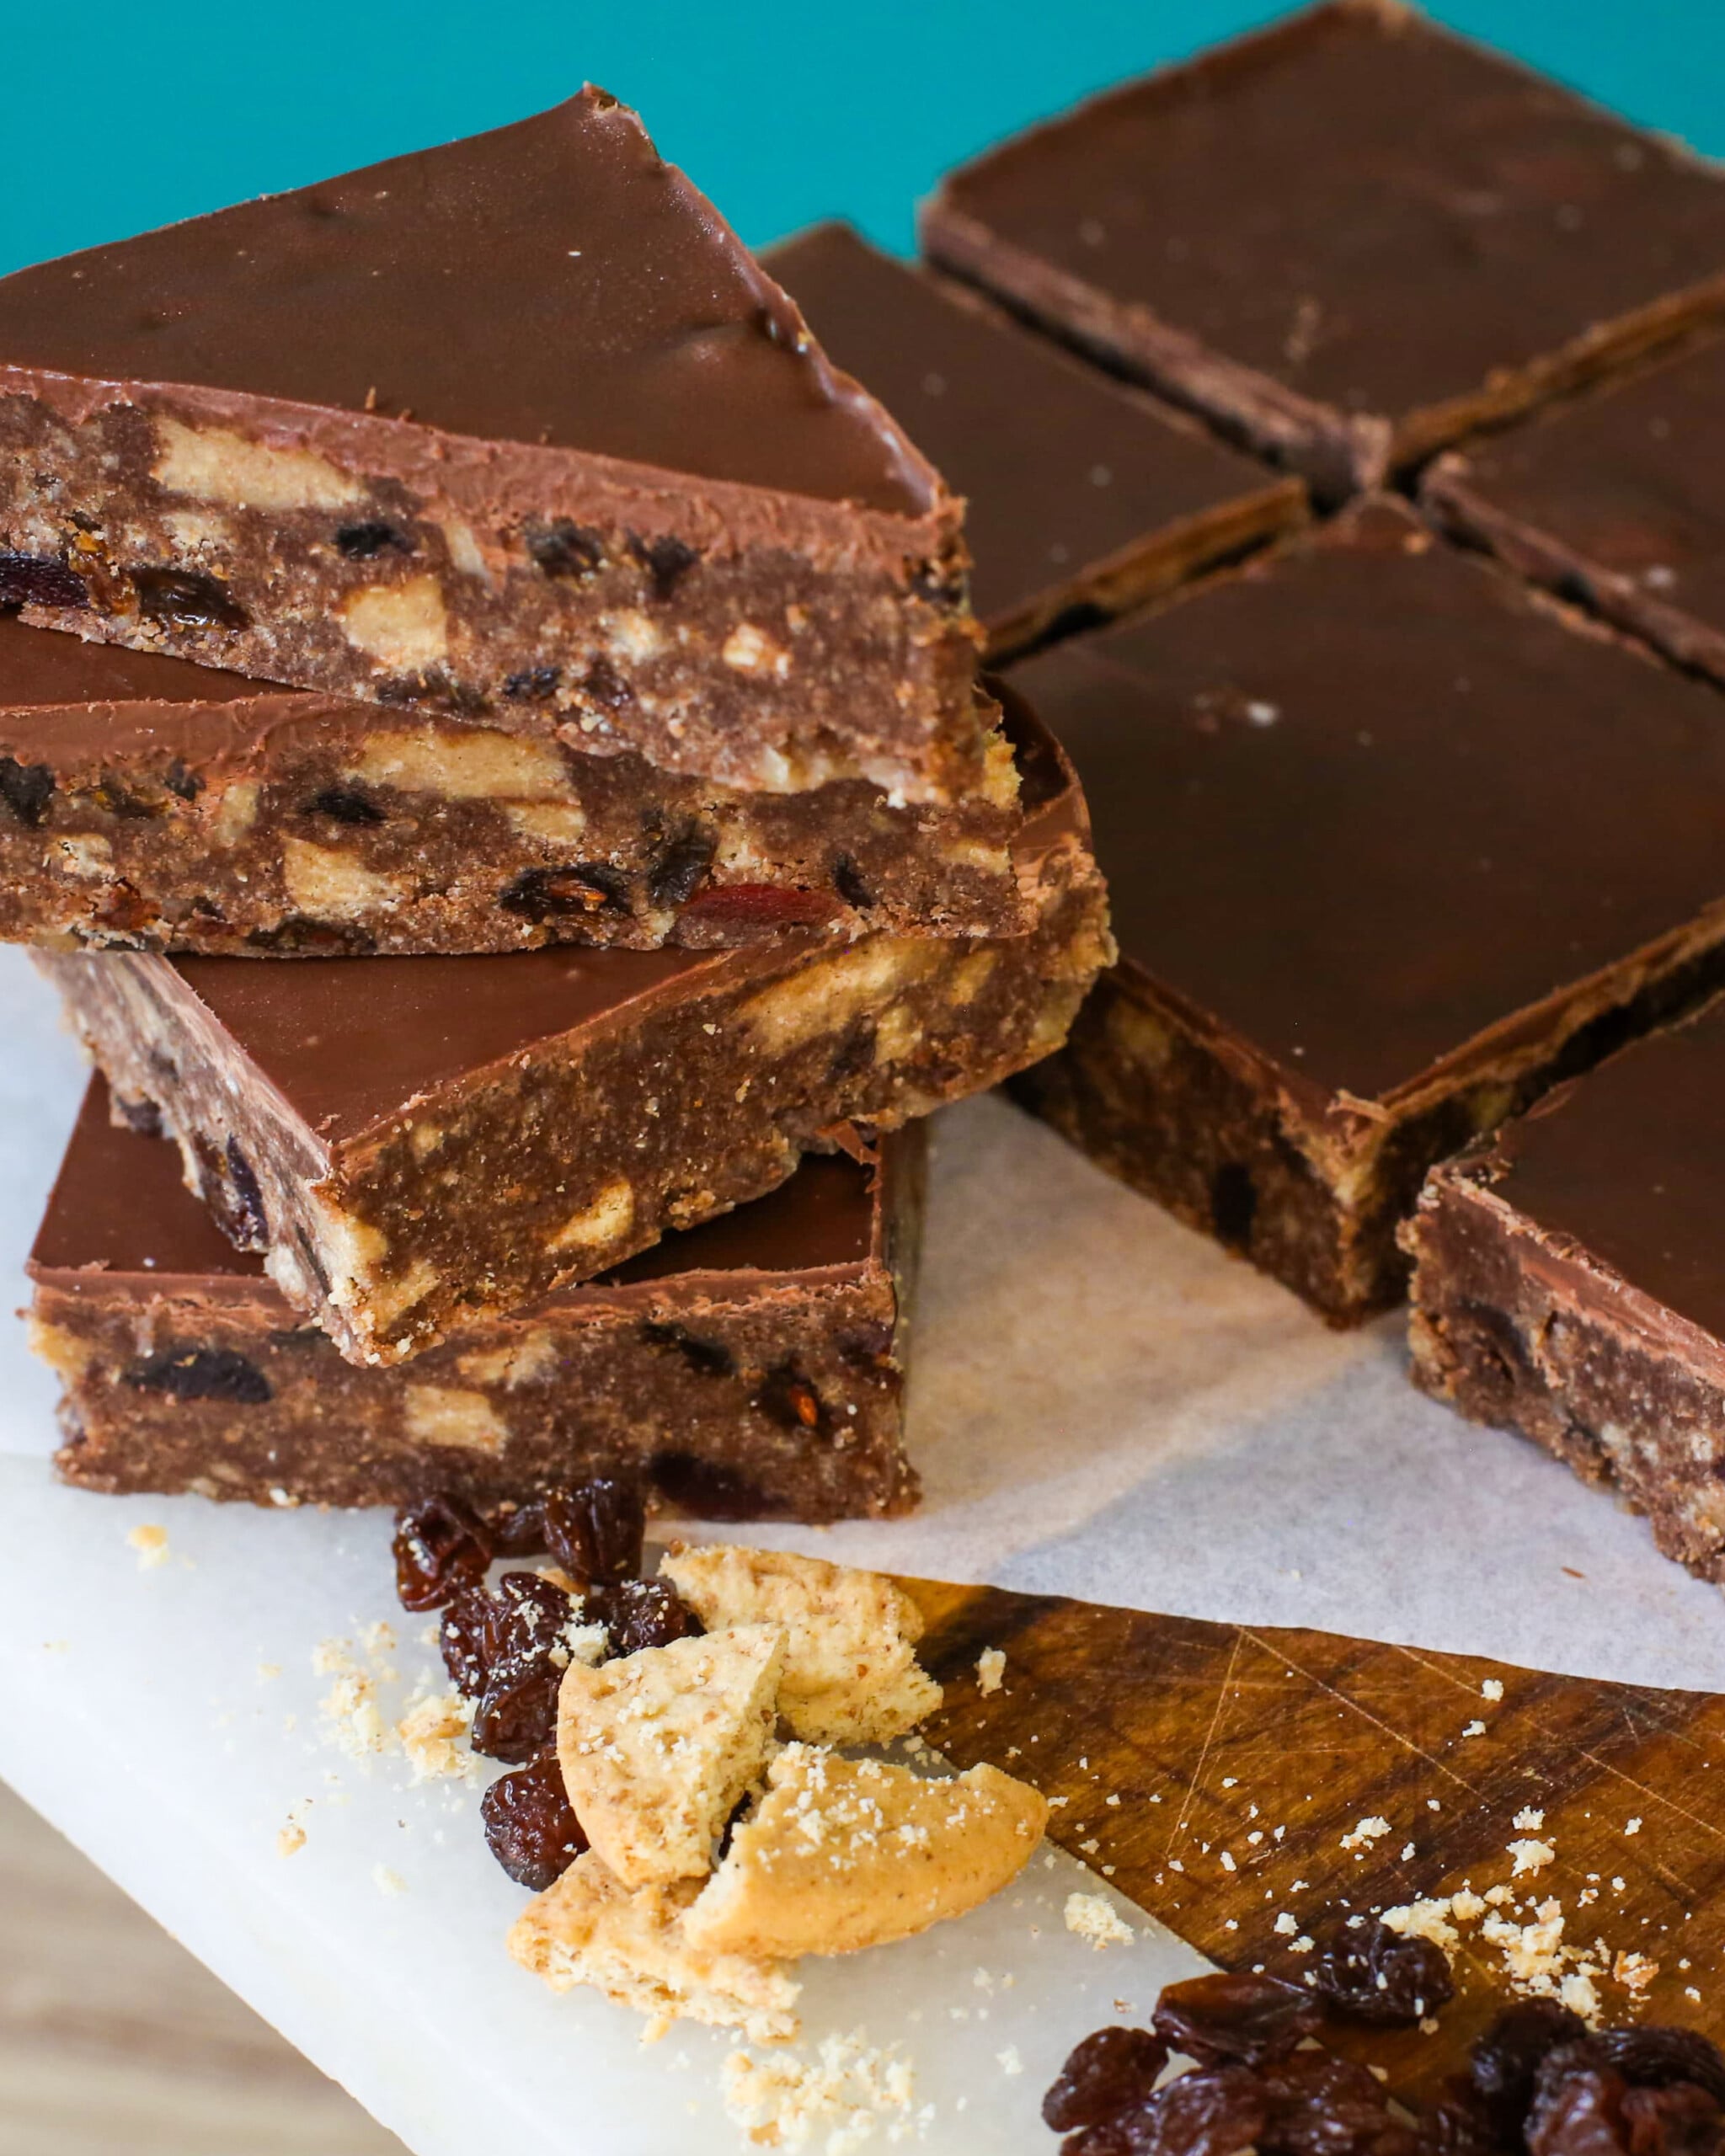
Growing up in Scotland, tiffin seemed to be served everywhere and for every occasion. It’s right up there with Mars Bar Cake, Primary School Cake, and all the other nostalgic traybakes I grew up eating.
My version sticks to the traditional flavours, but I crush the biscuits two different ways. Some become fine crumbs to hold everything together, while I keep the rest chunky for that proper biscuity crunch. Then, obviously, the whole lot gets covered in milk chocolate. It’s pure nostalgia in every bite and perfect for everything from a weekday tea time to a bake sale contribution.
Ingredients and Notes
Please be sure to scroll down to the recipe card for the complete ingredient list and details.
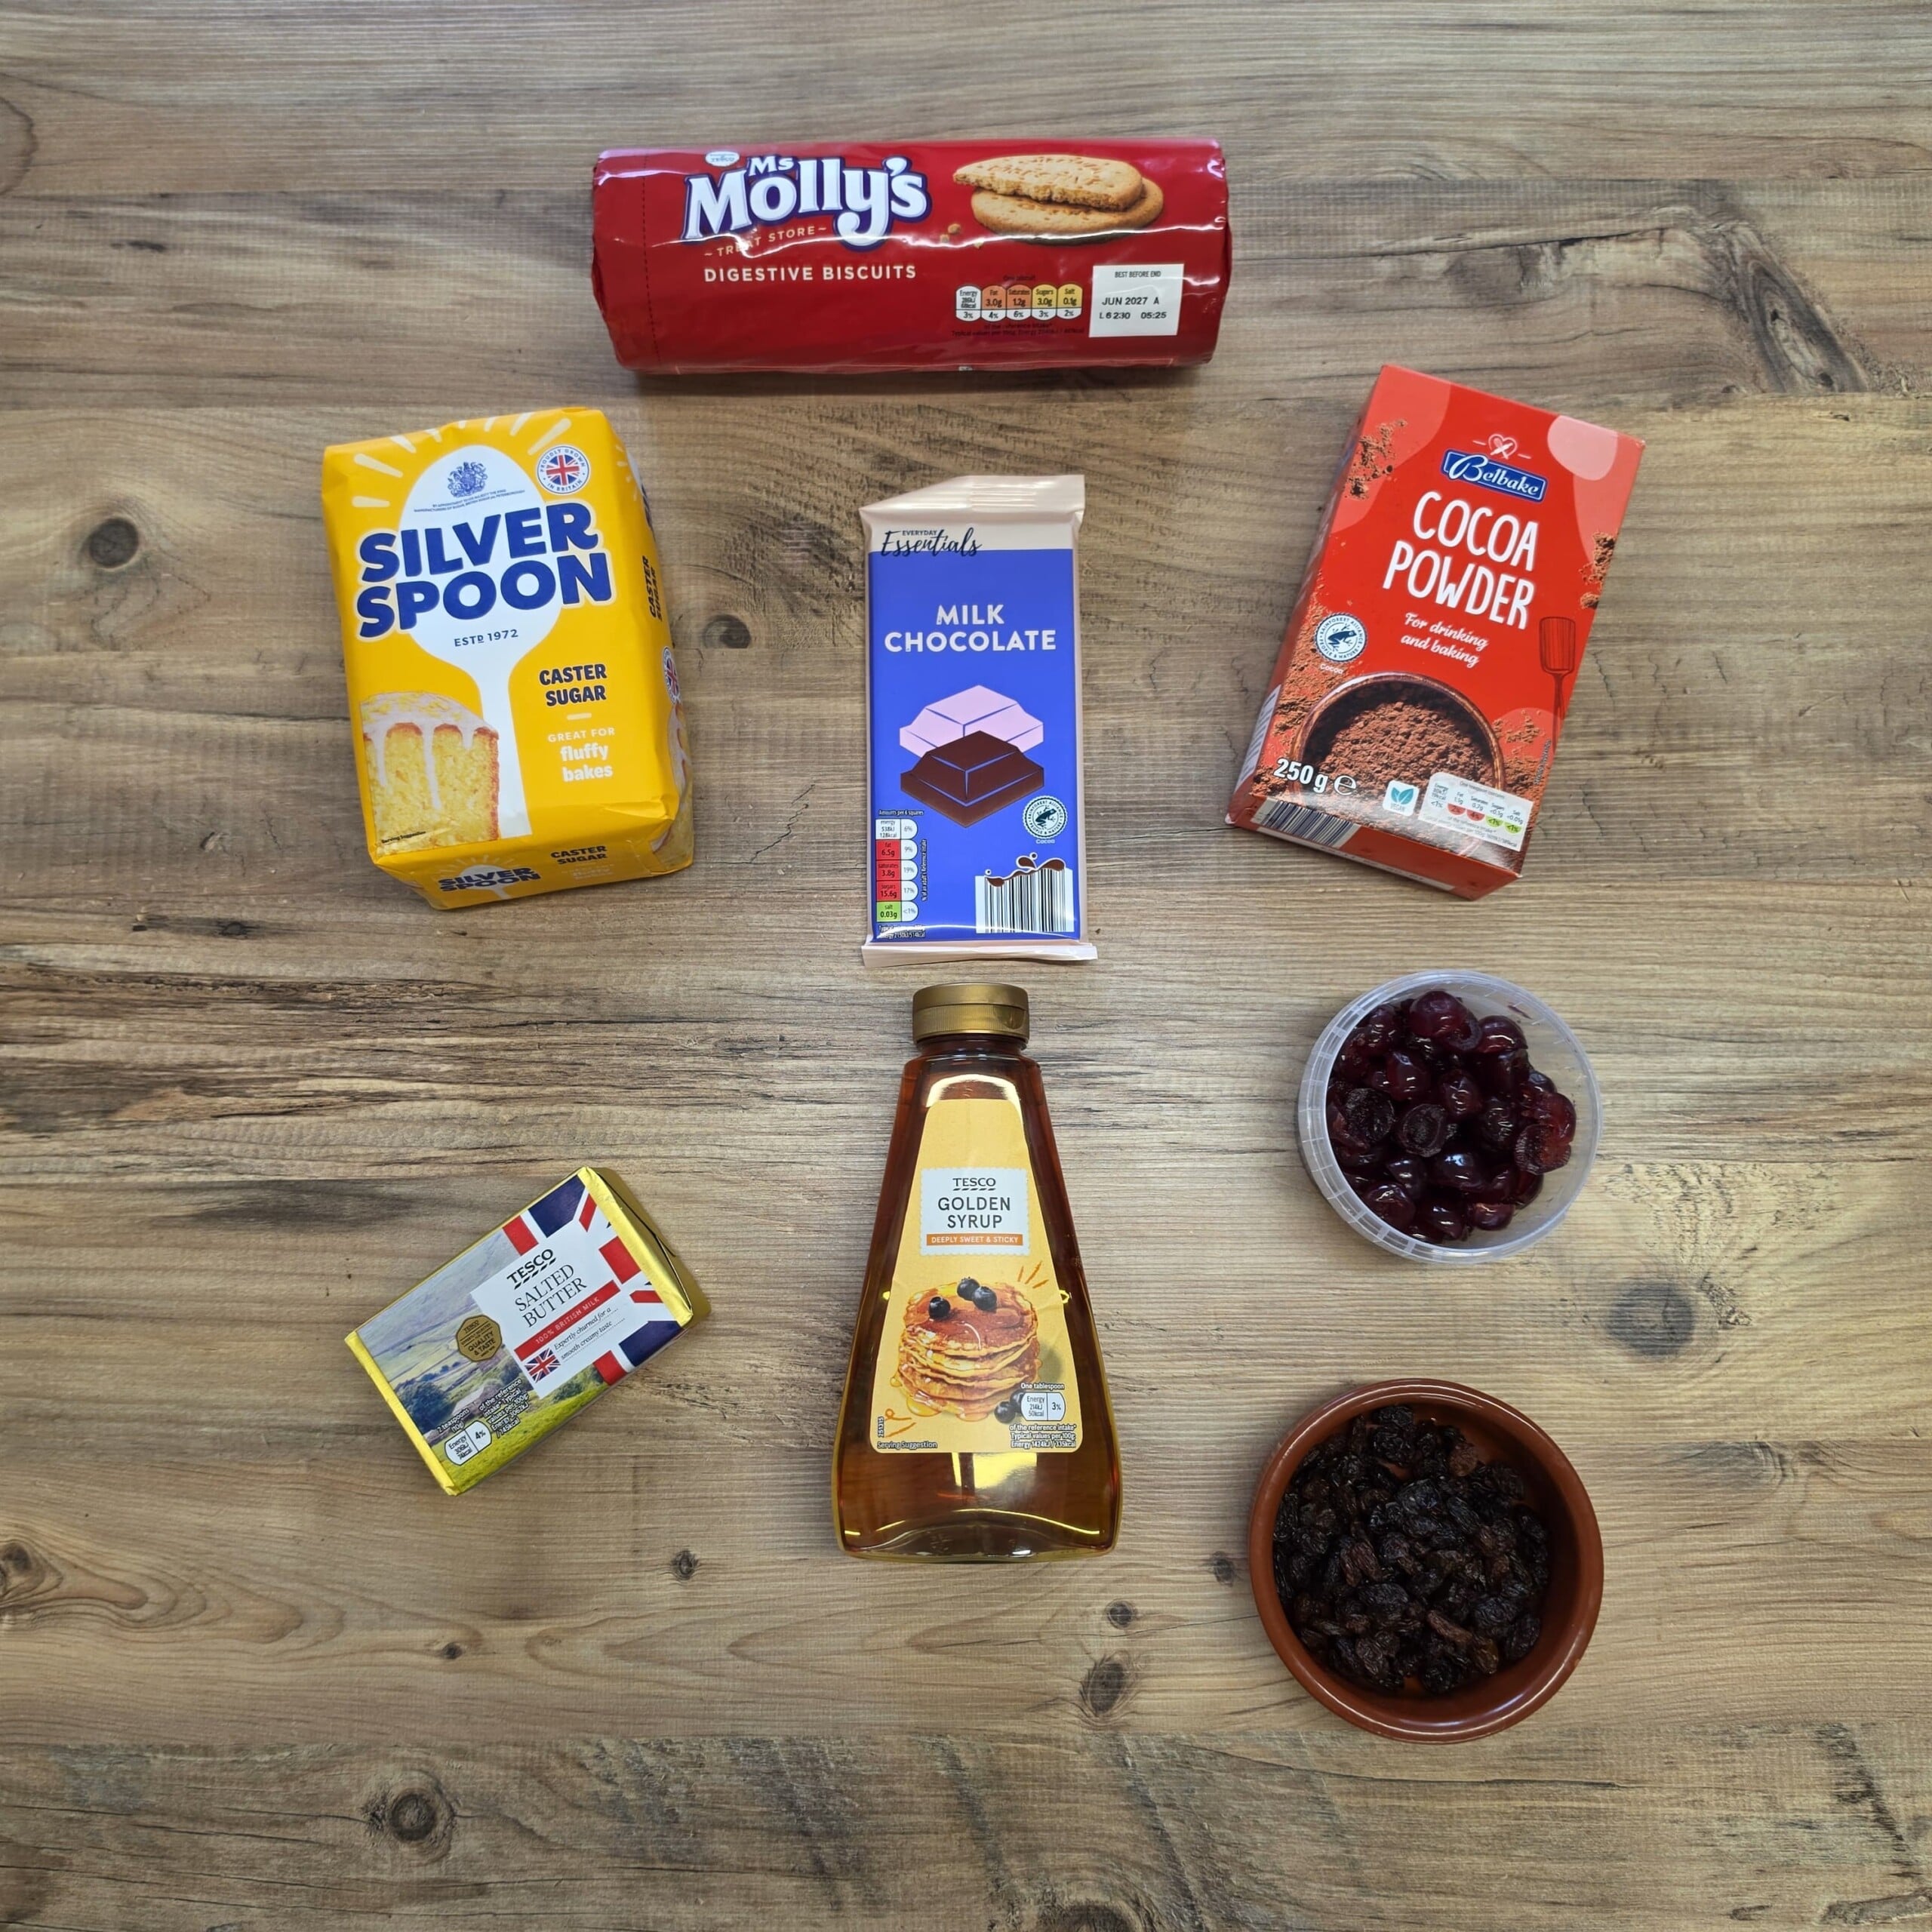
- Digestive Biscuits: The base of any good chocolate tiffin! I use 800g in total. Most are blitzed into fine crumbs, while the rest are roughly crushed to give the tiffin some texture. (Not in the UK? See the substitutions below.)
- Glacé Cherries: I quarter these before adding them so you get little bursts of sweet, fruity flavour throughout rather than huge pieces. Use extras to make Empire Biscuits, too!
- Raisins: A classic tiffin addition, these add extra sweetness and chewiness.
- Salted Butter: Using salted butter helps balance all the sweetness from the golden syrup, sugar, fruit and chocolate.
- Sweeteners: I use both caster sugar and golden syrup. The golden syrup is crucial for that lovely sticky texture that helps bind everything together.
- Cocoa Powder: You only need a little to give the biscuit mixture its chocolatey flavour.
- Milk Chocolate: Melted and spread over the chilled biscuit base, this creates the thick chocolate layer on top. Use a chocolate you enjoy eating on its own.
Substitutions for US Bakers
If you're outside the UK, you can still make this with ingredients from a regular supermarket:
- Digestive Biscuits: Graham crackers are a close alternative. Rich Tea or Hobnobs also work if you can find them.
- Golden Syrup: Light corn syrup or honey will do the job of binding everything together. The flavour will be slightly different, but you'll still get that sticky texture.
- Caster Sugar: Use superfine sugar.
- Glacé Cherries: Look for candied (macerated) cherries - sometimes labelled glacé cherries - in the baking aisle.
Possible Variations
One of the best things about chocolate tiffin is how easy it is to change depending on what you have in the cupboard.
- Swap the dried fruit: If raisins or glacé cherries aren’t your thing, simply leave them out or replace them with another dried fruit.
- Add more chocolate: Try mixing some roughly chopped chocolate into the biscuit mixture for extra chocolatey bites.
- Change the topping: I use milk chocolate, but dark or white chocolate will work, too. You could even swirl two types of chocolate together on top.
- Add some crunch: Chopped nuts are an easy addition if you want even more texture.
- Use different biscuits: Digestives are my go-to and give this recipe its classic flavour, but you can experiment with other crunchy biscuits.
How to Make Chocolate Tiffin
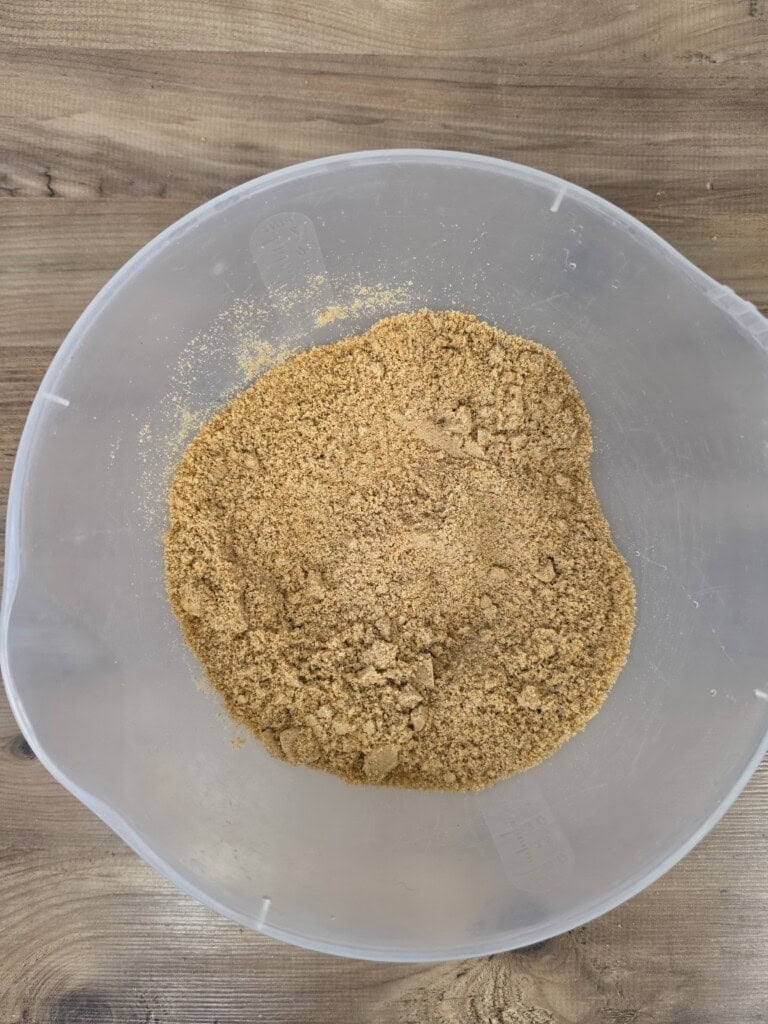
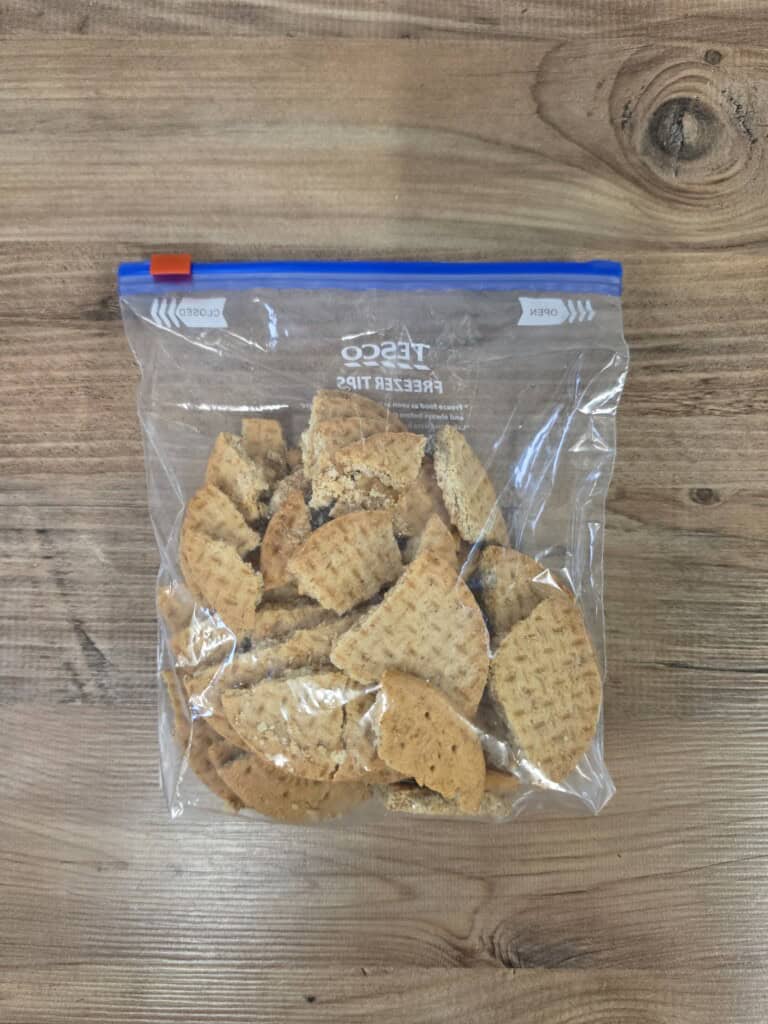
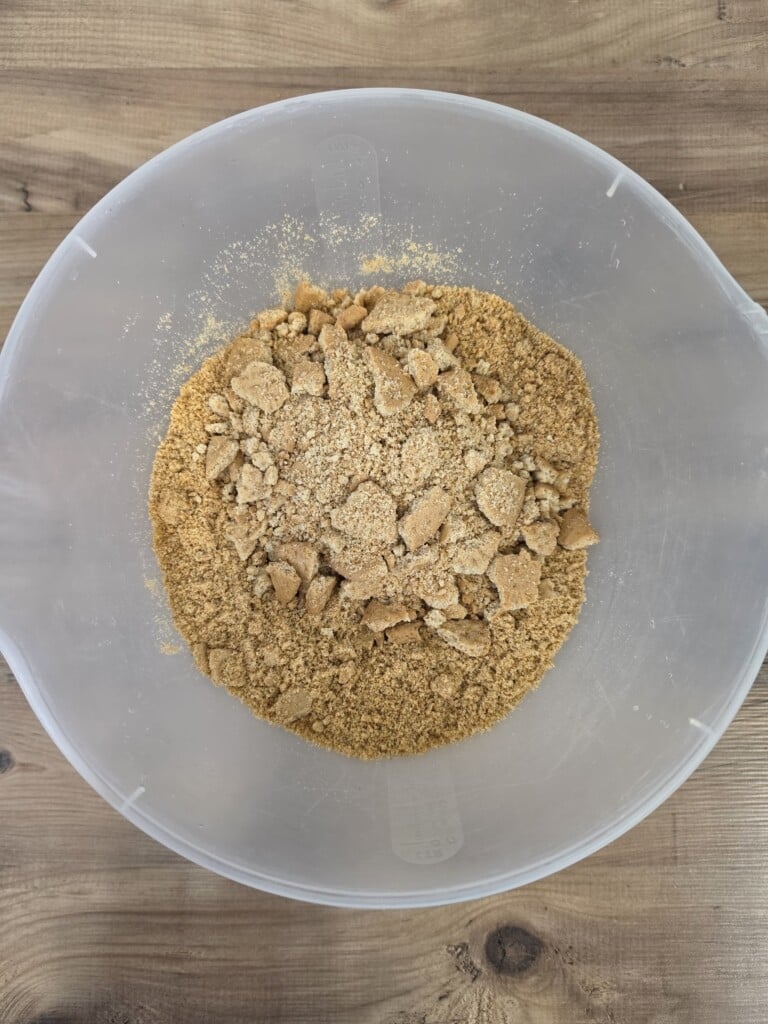
- Prep the biscuits. Blitz ¾ of the Digestive biscuits in a food processor until fine crumbs form. Then, smash the remaining biscuits into larger chunks. I do this by transferring them to a sandwich bag and bashing them with a rolling pin. You can also smash the pieces into fine crumbs this way if you don’t have a food processor. Combine all the biscuits in a large bowl.
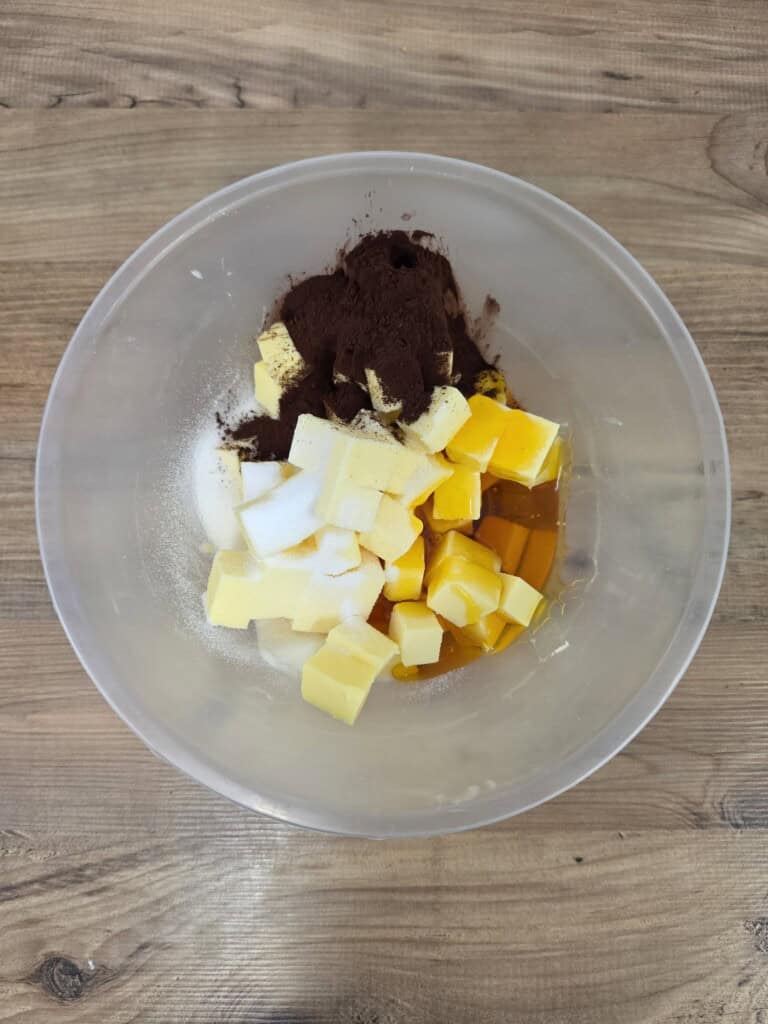
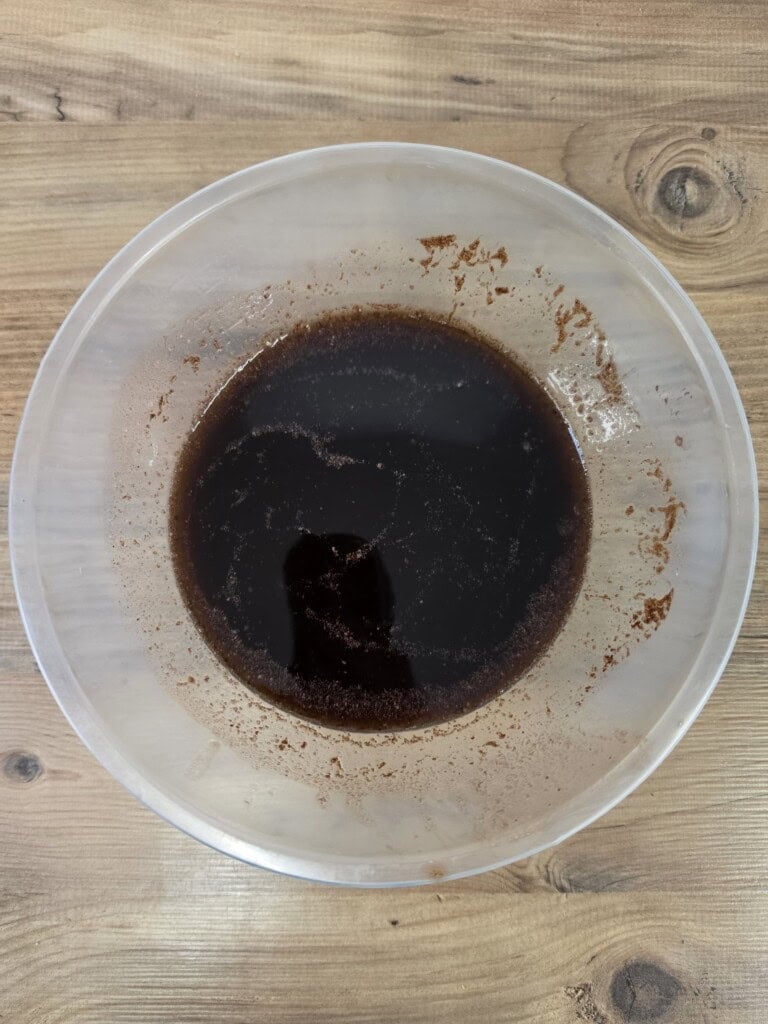
- Make the chocolate mixture. Cube the butter, combine it with the caster sugar, golden syrup, and cocoa powder, and microwave or warm in a pan over medium heat to melt. Do this in short 30-second bursts, stirring in between to prevent the ingredients from burning or the chocolate from seizing!
- Combine. Add the melted butter mixture to the bowl of biscuits, and stir to combine. Then, add the cut glacé cherries and raisins, and stir to distribute them evenly.
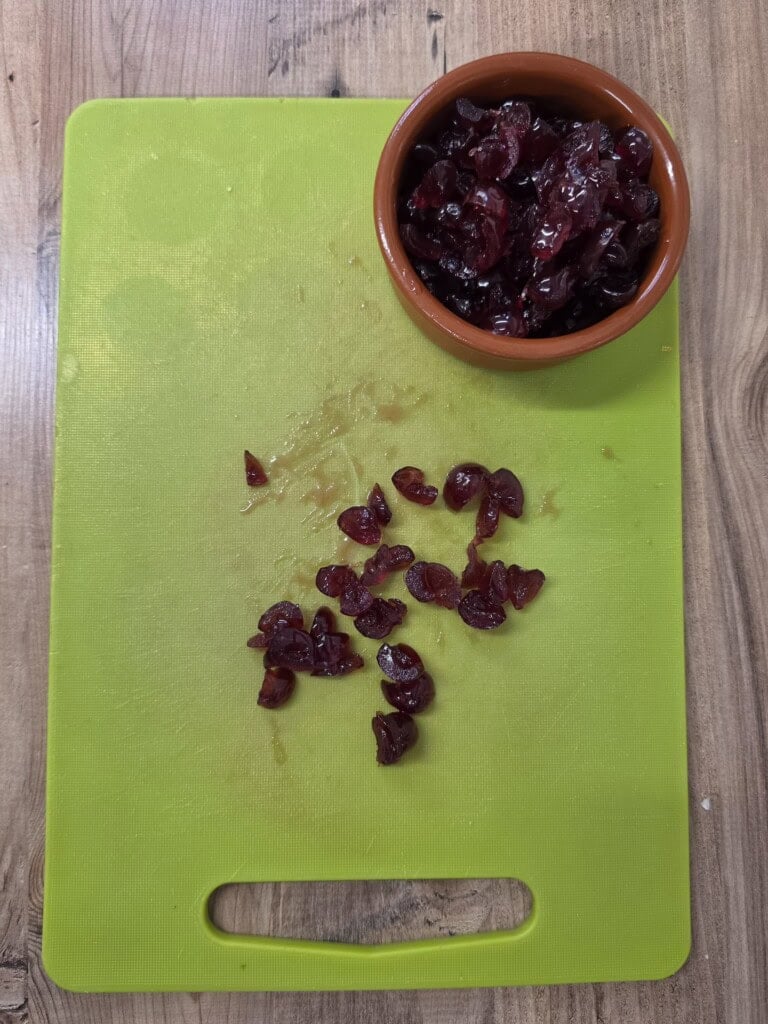
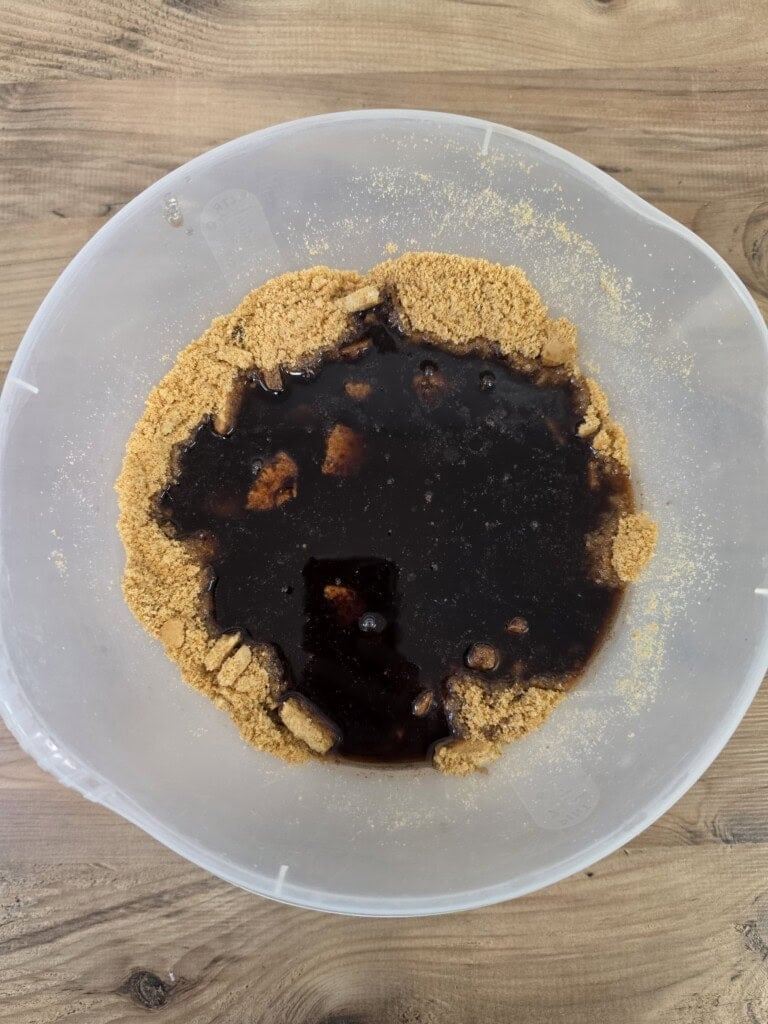
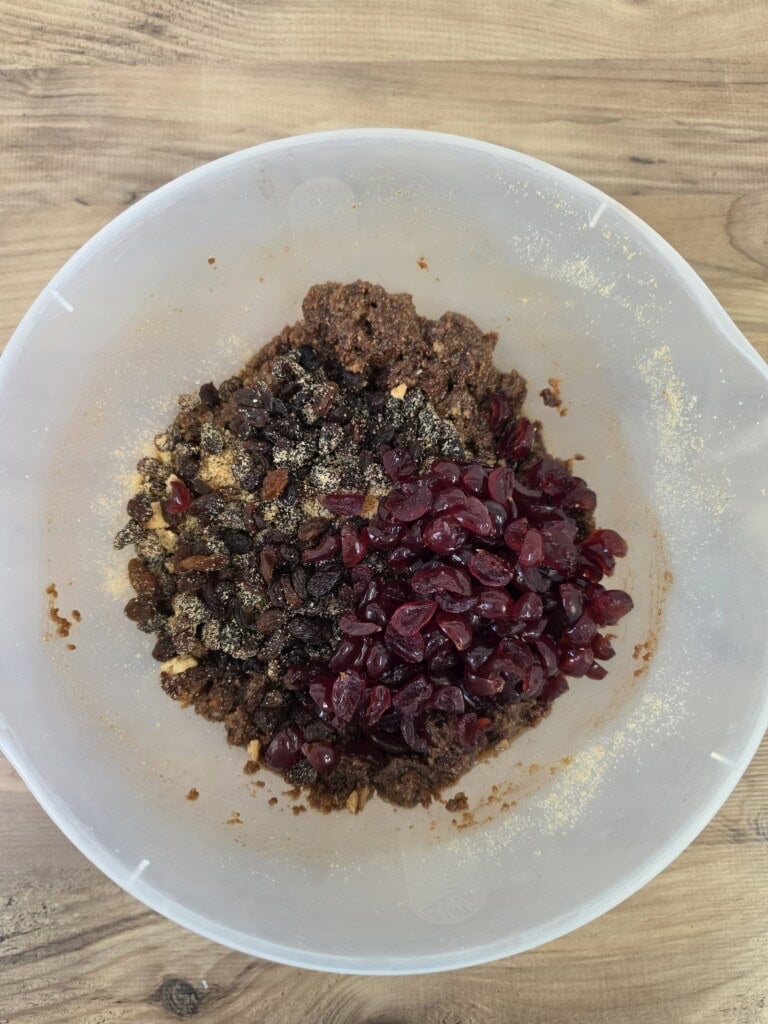
- Transfer. Transfer the mixture to a lined baking pan, spreading it out evenly. I like to use a glass to really press the mixture down and make sure it reaches all the corners, removing any air pockets in the process.
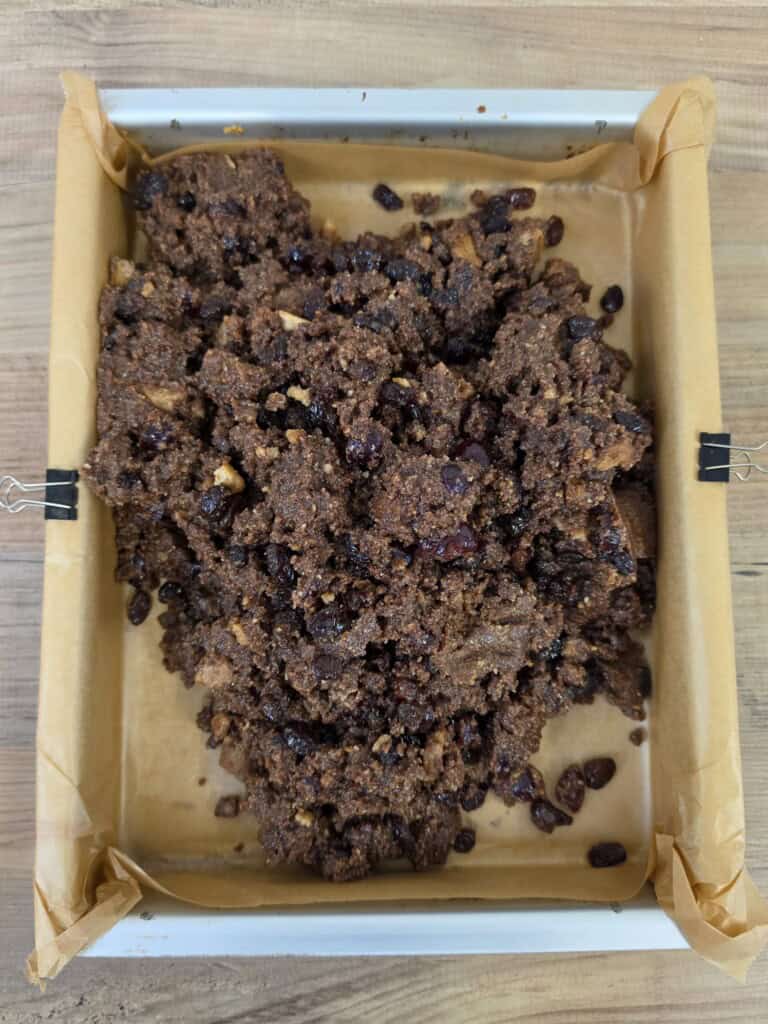
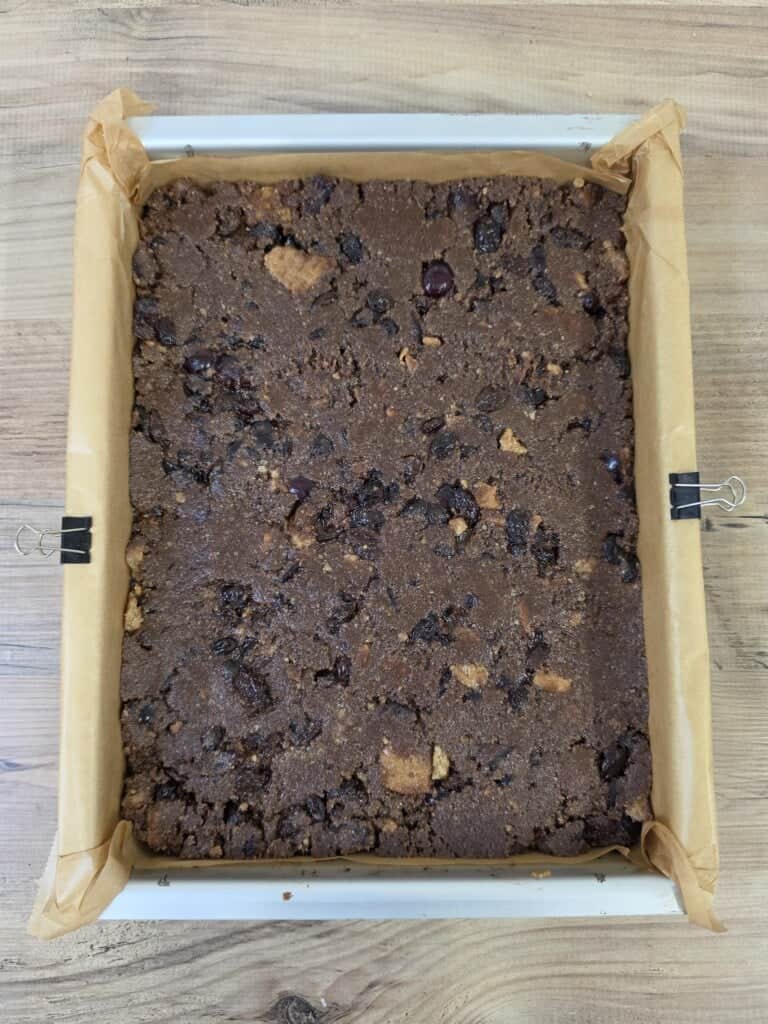
- Chill. Place the baking pan in the fridge to set. I highly recommend letting your tiffin chill overnight, if possible, but you can get away with 2-3 hours if you’re in a bit of a rush.
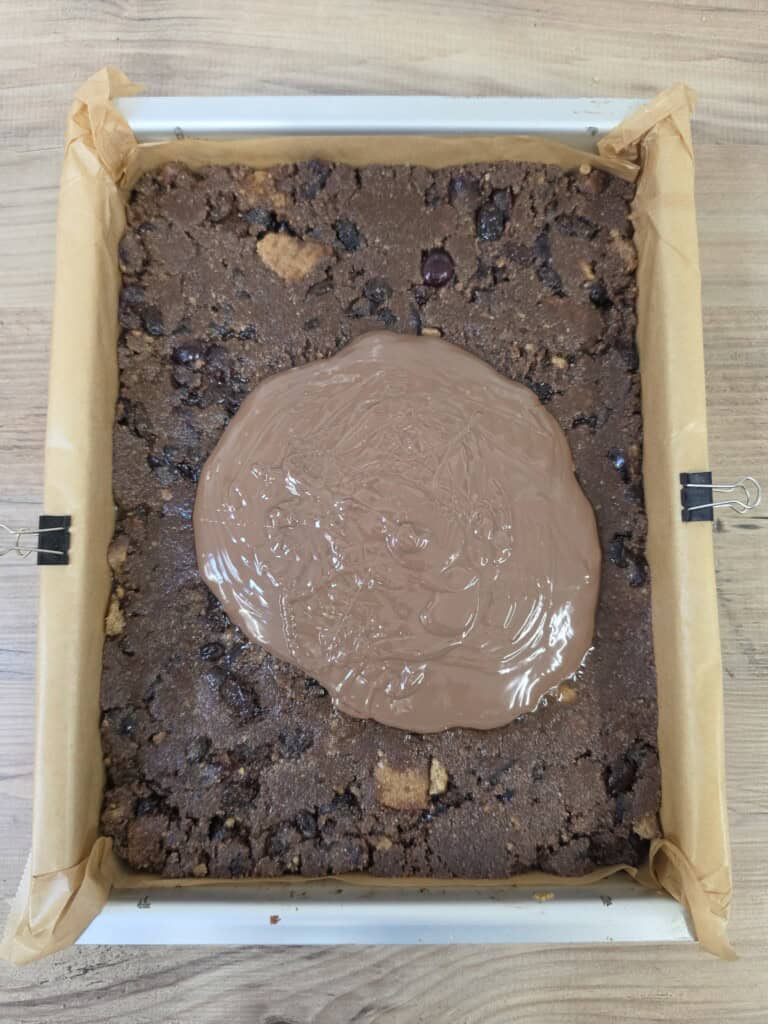
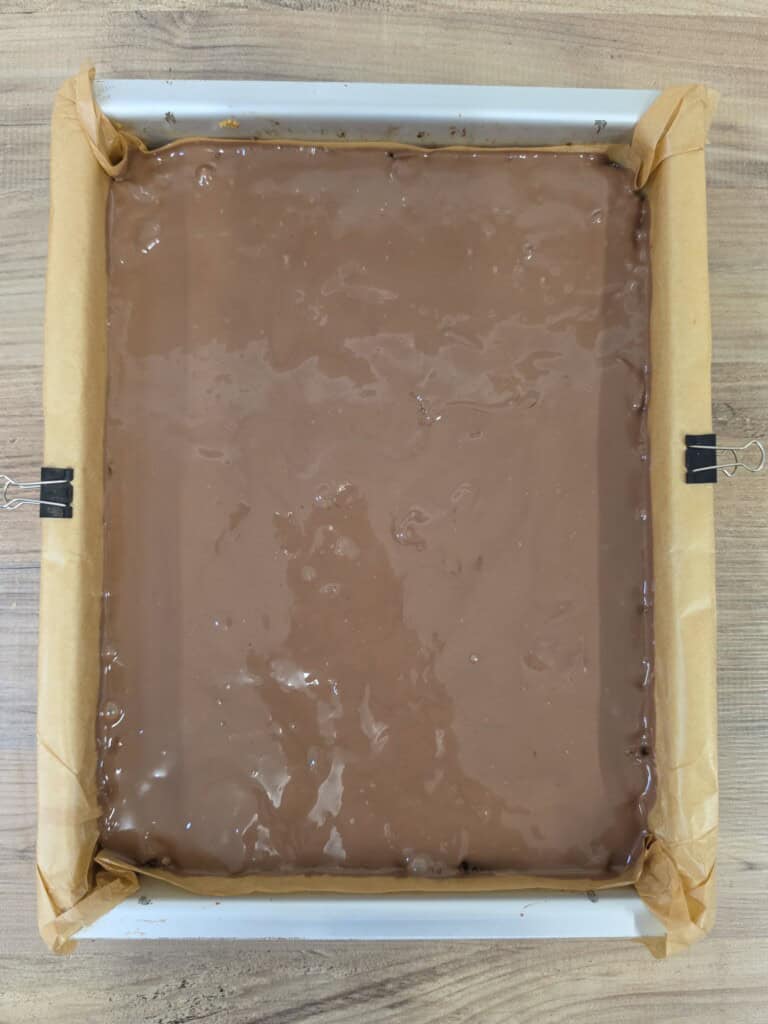
- Add the topping. Melt the chocolate. Then, pour it over the tiffin, spreading it out evenly. I like to tap my pan on my worktop a few times to distribute the chocolate and remove air bubbles. Let the tiffin chill in the fridge again before slicing and serving.
Storage and Freezing
Chocolate tiffin will keep well for 7-10 days in the fridge when stored in an airtight container, so it's great for making ahead.
It also freezes brilliantly for up to 3 months. Wrap individual pieces or the whole slab well in cling film, then transfer to a freezer-safe bag or airtight container. Let it come back to room temperature before serving.
Chocolate Tiffin FAQs
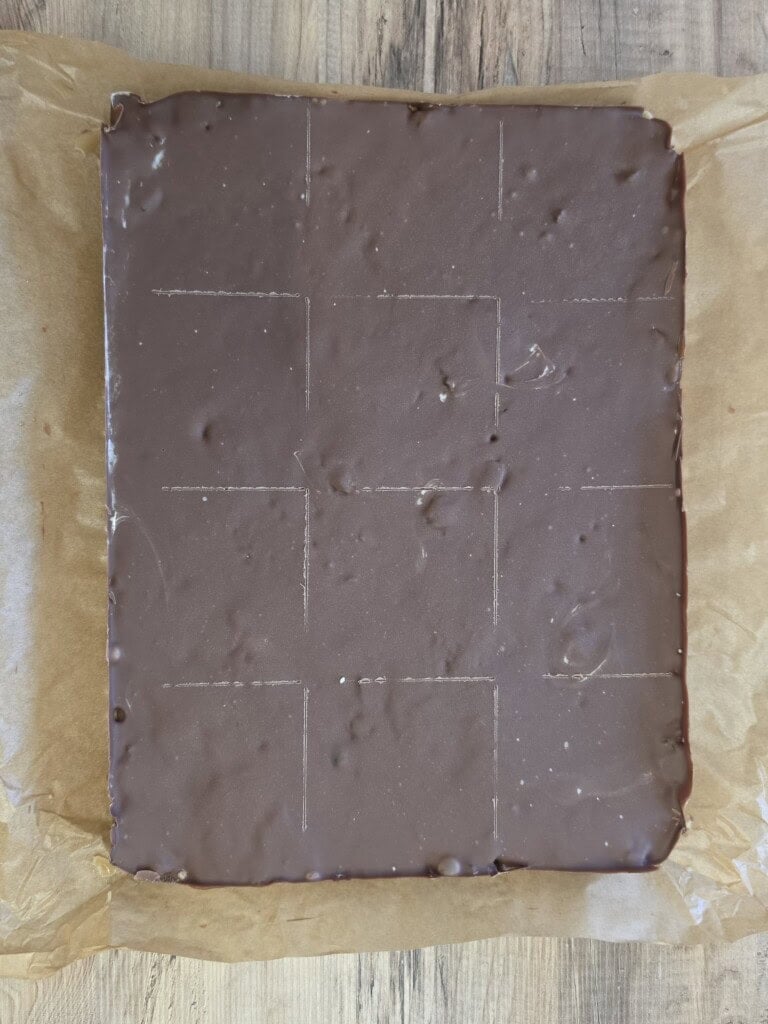
Take the chocolate tiffin out of the fridge and let it sit at room temperature before you start cutting. If the chocolate is fridge-cold and completely solid, it’s much more likely to crack when you put pressure on it.
Use a large, sharp knife to cut it into squares or bars. You can also warm the blade slightly before slicing, wiping it clean between cuts for nice, neat edges.
Usually it comes down to pressing. Use the bottom of a glass to compact the mixture firmly into the tin, getting right into the corners, so there are no air pockets. Crushing about three quarters of the biscuits into fine crumbs also gives you a firm base to hold the chunkier pieces together.
Give it time. The base needs at least 2-3 hours in the fridge before you add the chocolate topping, and overnight is best.
They’re similar no-bake chocolate treats, but the ingredients and textures are slightly different.
Chocolate tiffin is traditionally made with crushed biscuits combined with butter, golden syrup and cocoa powder, often with dried fruit such as raisins or glacé cherries mixed through.
Rocky road, on the other hand, usually has melted chocolate throughout the mixture and tends to contain marshmallows alongside biscuits and other additions. Tiffin has a denser, more biscuit-heavy texture, whereas rocky road is typically chunkier and more chocolate-forward.
More Sweet Scottish Recipes You’ll Love
If you have a sweet tooth for desserts, you might also enjoy:
If you have any questions, please leave a comment, and I'll get back to you. Or I would really appreciate it if you left me a review below.
CRAVING MORE? Subscribe to my newsletter and follow along on Instagram, Tik Tok, and YouTube for the latest updates.
Easy Chocolate Tiffin Recipe (No-Bake)

Equipment
- 1 12" x 9" x 2" baking tin
- greaseproof/baking paper
Ingredients
- 800 g Digestive biscuits
- 200 g glacé cherries cut into quarters
- 200 g raisins
- 325 g salted butter
- 70 g caster sugar
- 215 g golden syrup
- 2 teaspoon cocoa powder
- 300 g milk chocolate
Instructions
- Line a 12" x 9" x 2" baking pan with baking paper
- Blitz up ¾ of 800 g Digestive biscuits (600g) in a food processor until you have fine crumbs. Add the crumbs into a large bowl.
- Place the remaining 200g of Digestive biscuits into a sandwich bag and give them a bash with a rolling pin to create larger chunks. Add these into the bowl with the fine biscuit crumbs.
- Cube 325 g salted butter and place it into a microwave-safe bowl, along with the 70 g caster sugar, 215 g golden syrup and 2 teaspoon cocoa powder.
- Melt in the microwave in 30-second bursts, stirring between each burst, until all the ingredients have melted and combined. Alternatively, you can melt the mixture in a pot over a medium heat (Bain Marie method).
- Add the melted butter mixture into the biscuits and stir until well combined.
- Cut 200 g glacé cherries into quarters then add 200 g raisins and the chopped glacé cherries into the bowl as well. Stir until evenly distributed throughout the mixture.
- Pour the chocolate tiffin mixture into your lined baking pan and press it down firmly, making sure it reaches all the corners (use a glass for this - it helps to remove any air pockets).
- Place the tiffin into the fridge for minimum 2–3 hours, although ideally overnight, to fully set.
- Break 300 g milk chocolate into squares and place into a microwave-safe bowl. Melt in the microwave in 30-second bursts, stirring well between each burst.
- Pour the melted chocolate over the tiffin and spread it out evenly to cover the entire tray (tapping the baking pan on the worktop surface helps to remove air bubbles and distribute the chocolate evenly).
- Place the tray back into the fridge to allow the chocolate to set (minimum 1 hour)
- When you are ready to cut the tiffin: remove it from the fridge and allow it to come to room temperature before cutting. This will help prevent the chocolate from cracking.
Notes
- No baking pan? You can use a roasting tray if you don't have a 12" x 9" x 2" baking pan, or a similar-sized tin.
- Crushing the biscuits: Blitz ¾ of the Digestives into fine crumbs and leave the remaining ¼ in larger chunks. This gives the tiffin a firm base while keeping plenty of crunchy biscuit pieces throughout.
- No food processor? Add the biscuits to a food bag and crush them with a rolling pin instead.
- No microwave? Melt the butter, caster sugar, golden syrup and cocoa powder together in a saucepan over a medium heat, stirring until smooth and combined.
- Press it down firmly: Use the bottom of a glass to compact the mixture firmly into the tin. This removes air pockets and helps the tiffin hold together when sliced.
- Chilling: Chill for at least 2-3 hours before adding the chocolate topping. For the best results, leave the base to set overnight.
- Chocolate: I use milk chocolate for the topping, but you can swap it for dark or white chocolate if you prefer.
- Fruit: Not a fan of raisins or glacé cherries? Leave them out or swap them for another dried fruit. You can also add roughly chopped chocolate instead.
- Slicing: Let the tiffin sit at room temperature before slicing. Cutting it straight from the fridge can cause the chocolate topping to crack.
- Storage: Store in an airtight container in the fridge for 7-10 days.
- Freezing: Chocolate tiffin freezes really well. Wrap it tightly in cling film and place it in a freezer-safe bag or airtight container. Allow it to come to room temperature before serving.
Leave a Reply